Autumn is here and what could be more appealing than falling leaves, pumpkins and gourds? Here is Autumn Harvest, and some fabulous inspiration by my amazing team, Judy, Hayley and Cheryl!
Saturday, October 3, 2015
Friday, August 28, 2015
Under the Sea
Frolicking under the sea, there are fun and fascinating creatures just waiting to play with you!! Here is my latest kit, Under the Sea, with a variety of unique elements and papers, clusters, wordart and journal cards. This kit is available in a Bundle for cost savings if you wanted it all, or you can buy them separately: The kit, the Clusters, the WordArt and the Journal Cards. I love what the girls created with this kit below!
And here are just a few pages that should entice you to play!
By Hayley
By Judy
By Gina
By Cheryl
Journal Cards by Gina
By Lynne
Thursday, August 6, 2015
Pins and Needles
A new release called Pins and Needles, is a fun kit that contains your basic sewing elements, as well as some room furniture and young ladies. I will be adding future kits that will allow you to build onto the 'room design' idea, making it fun to create a fabulous array of pages.
And in accordance with my never being completely satisfied before product release, I included some Clusters and window views to add more variety to the kit! The window views fit well behind either of the window PNGs to give the appearance of looking out the window at a vista or your drive. Add your own photos for a more personalized look and feel!
Sixteen Papers to go with both traditional style, journaling and collaging! These come in BOTH 12x12 and 8.5x11 inch.
And of course I always have to include WordArt, so Pins and Needles WordArt and Brushes was created as a separate kit for those just interested in the wordart or brushes. Short and simple phrases that can go with any kit, plus a lower case alpha in an ancient script.
And here are a couple of inspirations to show you some exciting ways to use this kit.
Gina created this fabulous sewing room, lovely with all the sewing materials and elements ready for use, the children in the back playing, and the kitten stealing the yarn!
Hayley took a different approach putting the kitten on top of the rocking chair, with a fabulous cluster of flowers and the antique mannequin, lovely and refreshing!
Judy created a sewing album, adding a different mannequin and changing up the colors to coordinate with her own color scheme! She used the vellum cutouts as wall hangings and applied the overlay in a green color to give the page some grit. Fabulous creativity!
Using the little girls in the kit, Cheryl created a playful page of fun and frolic in the sewing room. She used the alpha (included in the kit) cleverly as pinups!
In this page I included one of the window views (photos for outside the window) and the wall panels, making the room to appear as if it is high in the mountains...I can almost hear the sound of music...
Why don't you see what you can come up with, and have fun!
Thursday, July 30, 2015
How Did You Do That?
I have been asked how some of the artwork has been created, so thought I would start posting some "how to" pages to share with you the process I or others have gone through to create our art.
Supplies are: Sophisticated Ladies, white tissue paper, re-positionable spray adhesive, candle, grease-proof paper, and heatgun.
Hope you enjoy.
Friday, July 10, 2015
Garden Journaling
Hi! It's Natasha here with the latest "goings on" from "The Brambles". "The Brambles" is the unofficial name for my garden and I'm sure I do not need to tell you why!
I've been journaling my garden on The Brambles blog since June 2013. The style of my journal has evolved over that time and no surprises, but I'm currently scrapping booking it :)
It all starts with me each week taking a note of what I've seen in the garden and the little stories of the "goings on". When the flowers are out I like to take photos of them, and the birds and wildlife if possible. Luckily flowers are not as camera shy as birds and squirrels :) Some weeks have more "goings on" than others! These range from the rubber ducks in the pond ending up on the garage roof to the friendly Ms Blackbird that keeps Steve, my partner, company whilst he is out cleaning the car! She's really got it sussed though and knows she'll get some extra mealworms :)
Here are my top two tips for journaling gardens:
- Journaling Tip - keep a notebook handy to write down what you see, so you don't forget.
- Photography Tip - make sure your camera is ready go with charged batteries and an empty memory card.
I find that scrapbooking is a great way to create my journal with. For times when I am short of photos or journaling I add more scrapbook elements. I use kits that fit with the time of year and the elements are therefore a great match.
I create my log book layouts as 8x8 inch size as this size works for printing out on an A4 printer on A4 card (and then trimmed to size).
It's fun just to try out different ideas and when I find something I like I alter it for the month. This gives a little consistency to my log book but also the freedom to change it too for each new month.
To create last weeks Brambles page I've really mixed and matched Lynne's amazing kits, using the following:
As always we'd love to see what you've been creating with Lynne's kits, so don't forget to share a link in the comments and we'll be sure to pop over and take a look. It's bye for now, I'll be back soon, Natasha :)
P.S. If you'd like to catch up with my blog "The Brambles" hop over to it here: The Brambles, a tale of a garden.
Tuesday, June 2, 2015
Scrapbooking with Word Art
Hello! I know it's been a while since I last posted but I've been keeping up to date with your layouts in the gallery and I'm totally inspired them. They just make me say WOW! Amazing crafting with Lynne's kits and many other wonderful designers too :)
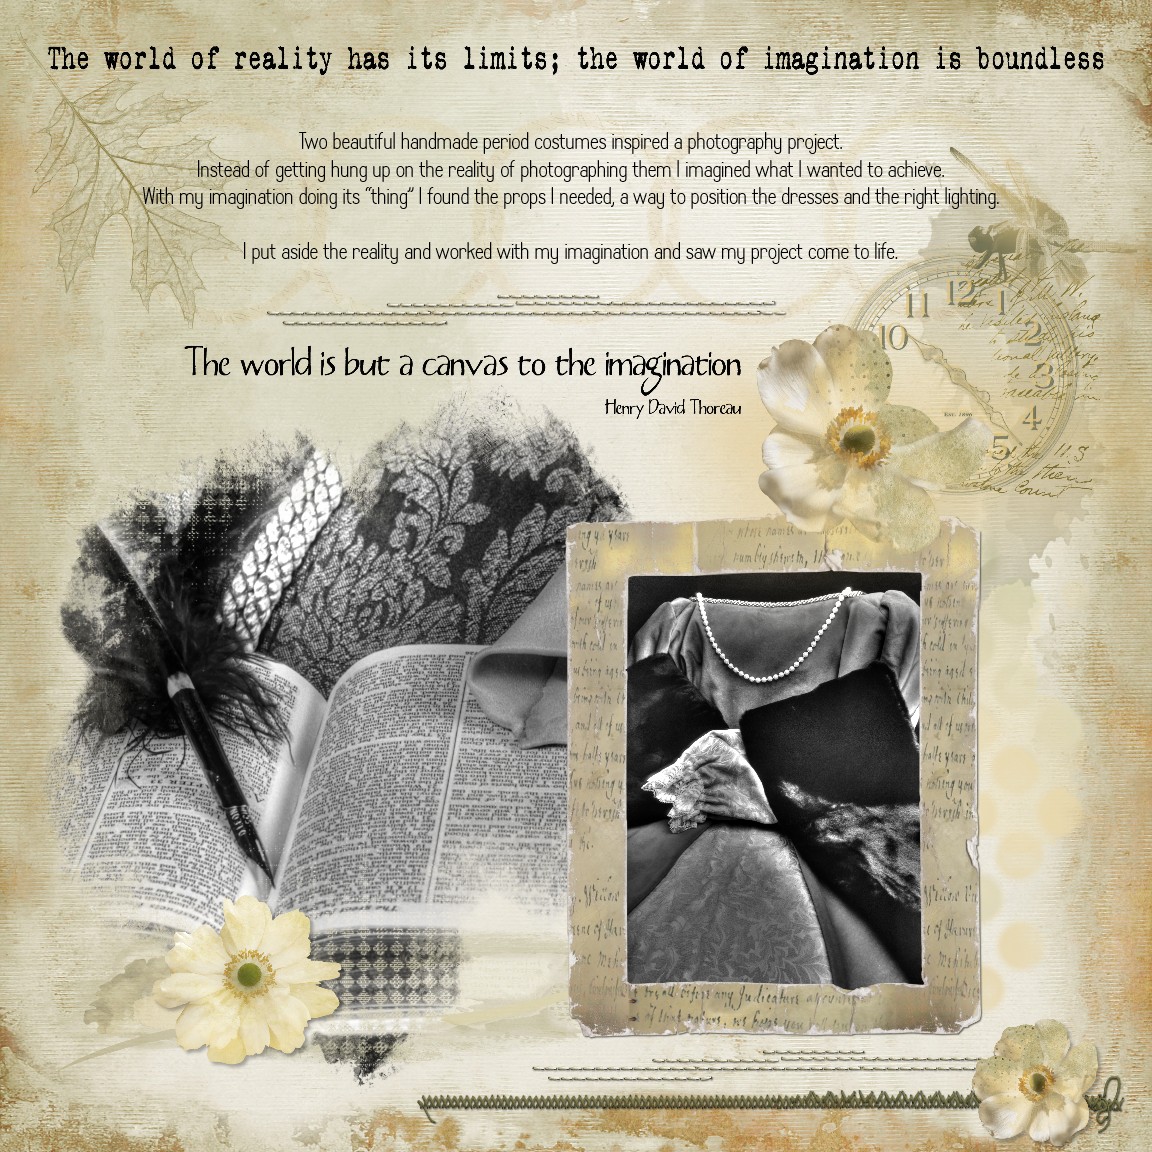
Today, I am taking a look at Word Art. Lynne creates such beautiful Word Art kits and in this layout I'm using A Scrap of Yellow WordArt. I'm also using her wonderful kit A Scrap of Yellow.
Instead of starting out with a photo, journaling or even an idea I decided to start this project by selecting one of the word arts. Next I added a background paper, some overlays and a few elements to make the basis of my page.
Now I focused on the word art that I had chosen. I thought about what it brought to mind. And this was a number of photography projects I'd completed for an A level in photography I took part time a few years ago. I journaled how I thought about one of the projects. How I got over the difficulties by imagining the end product and not initially how I would get there in real terms. My journaling fitted perfectly with another word art, which was great for ending this section with.
To finish off the page I added two of the photographs that I'd taken for the project. These photographs were a little too colourful and the wrong colours for the page. So I turned them black and white, which I think has worked perfectly. Finally I added frames to them and my layout was complete.
I loved this way of putting my page together by starting with the word art. It was a great way to think about what those words were saying to me and then visualising them on paper, in words and pictures.
I created my layout with the following wonderful kits by Lynne Anzelc Designs:
Now the next part is over to you! We'd love you to take a piece of word art that inspires you and create a layout that is based on what inspires you from the words. Then we'd like you to share the layout you've created by adding a comment and link into comments below. We hope you are inspired to have a go :) I'll be back soon with some more creative ideas and to catch up with your word art pages, until then keep creative, Natasha :)
Thursday, May 7, 2015
An update
I have been remiss with my postings, and am grateful Natasha posts her fabulous tutorials! There have been several new products since my last post, and you can see them to the right of this post, and if you want a closer view, you can just click on the image and it will take you to the shop where there is a description and examples. But I always love to show you samples of my team's work, so a handful are posted below. I am planning a blog post of some of my customer's artwork in the near future, how cool is that? Several people gave me approval to show you some of their own artwork using my kits, and I could not be more proud. So keeping checking out my posts to see what some of YOU are doing in the art world.
But for this week, here are some pages from my fabulous CT team, whom I could not imagine doing without. Thank you Beth, Gina, Judy, Hayley, and Ona you are the best!!
Using Lily Pond
By Judy
by Haley
by Ona
by me :)
Using Purple Rhapsody
by Gina
by Beth
by Judy
Using Aging Beautifully
by Hayley
by Judy
by Beth
by Gina
Thank you for looking
Subscribe to:
Posts (Atom)